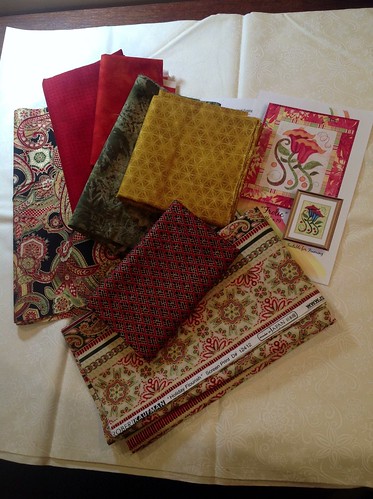
This quilt is from Quiltmania Magazine Summer Special 2012. It's rated as a 1 spool project and has 2 basic blocks - one of which includes applique which I am currently learning. The applique consists of 4 petals - so I can work on my curves and points. I am doing them by hand. The quilt also has some basic stitching around the petals with embroidery floss.

For fabrics I did have to purchase a few fat eights to add to my stash (which I think is growing at an alarming rate considering I only have 2 finished quilts under my belt and I am a "newbie").
Thus far I think this is a great project for me because of the portable applique aspect (for both travelling and watching TV) as well as speed of the machine for doing other blocks.
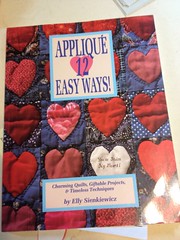
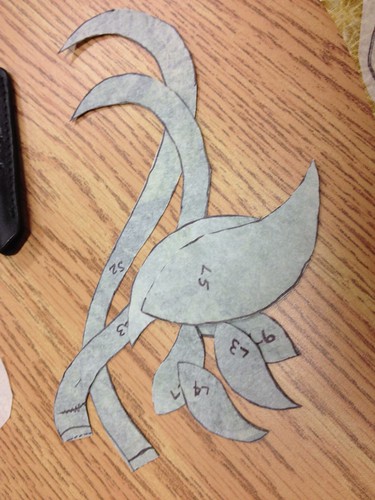
Everyone has an opinion or idea or tip on ways to make the process easier or more precise. Because there are 25 blocks consisting of 4 petals each, I've been exploring different techniques. I originally had the freezer paper petals ironed on top of the fabric. The advantage was they were easy to peel off when done - the disadvantage was they were usually half peeled off before I was done. I have now reapplied them to the wrong side of the fabric and this makes for a crisper edge for my needle turning. I'm also adding a wee swipe of Elmer's glue at the petal point to help make a sharp point. This works great - but the downside is trying to pull out the freezer paper! This book Applique 12 Easy Ways by Elly Sienkiewicz is a great primer with lots of clear easy to understand directions - and lots of how to pictures. My third technique may be the marking technique described below - I just need to ensure the marker comes off...
In the meantime I've also cut my squares and rectangles for the other block and border. I've been taking this project to my LQS Quilt Alongs which I am enjoying immensely. I get my own big table, it's nice and bright and everyone is friendly. I like the social aspect and since I'm a bit of a social butterfly and distract easily - a basic easy sew - no math project is a good choice.


Happy Stitching!